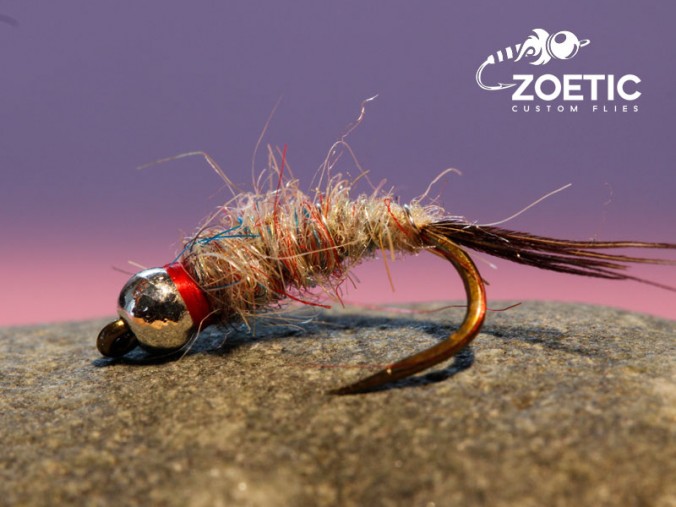
Why mix your own dubbing when there are so many colors and types of material already out there? I think there are really only two answers, the first is that no one has exactly what you want, the second is that you have a great source of material (a skin, pelt or ‘Honest honey, I have no idea where that bald spot on the dog came from’) that you want to use.
The simplest method, especially if you’re making just a small amount, is by hand. Place the materials in a pile, pinch one end and pull. Keep repeating until the materials are mixed.
The next is to use a fine tooth comb, such as a flea comb, do the pulling. Then it’s the same as the pinch and pull method.
Both of these methods will align longer materials in the same direction.
For larger amounts of material, put them into a container, add some water, cover and shake. Leave enough of an air pocket so you can get some good agitation action going. Pour off the water through a strainer and put the material on or in between paper towels and allow to dry. Fluff up before using.
Now we get into the kitchen accessories, the coffee or spice grinder (have one just for mixing dubbing) and the blender.
For the grinder, keep the materials to 1/2 inch or less in length. This helps to prevent materials from winding around the blade or shaft. Pulse the grinder, do not run continuously. You may have to occasionally stop and separate if too much clumping happens.
If you have a blender you can use it but add water first and pulse it. Strain the material and dry using paper towels and fluff when dry.
The last method is my favorite, compressed air. Use your bobbin to poke about a half dozen holes through both sides of a zip lock bag. Add the material to the bag, put the long nozzle on a can of compressed air, stick the nozzle in the bag and zip it up. Now spray away, use some pulsing at first.
Or, if you are like me and don’t keep canned air around the house, just wander into the garage and haul out the compressor.
To view my various uses of custom dubbings, visit the online store.


